Start with the rockwork, not the coral list
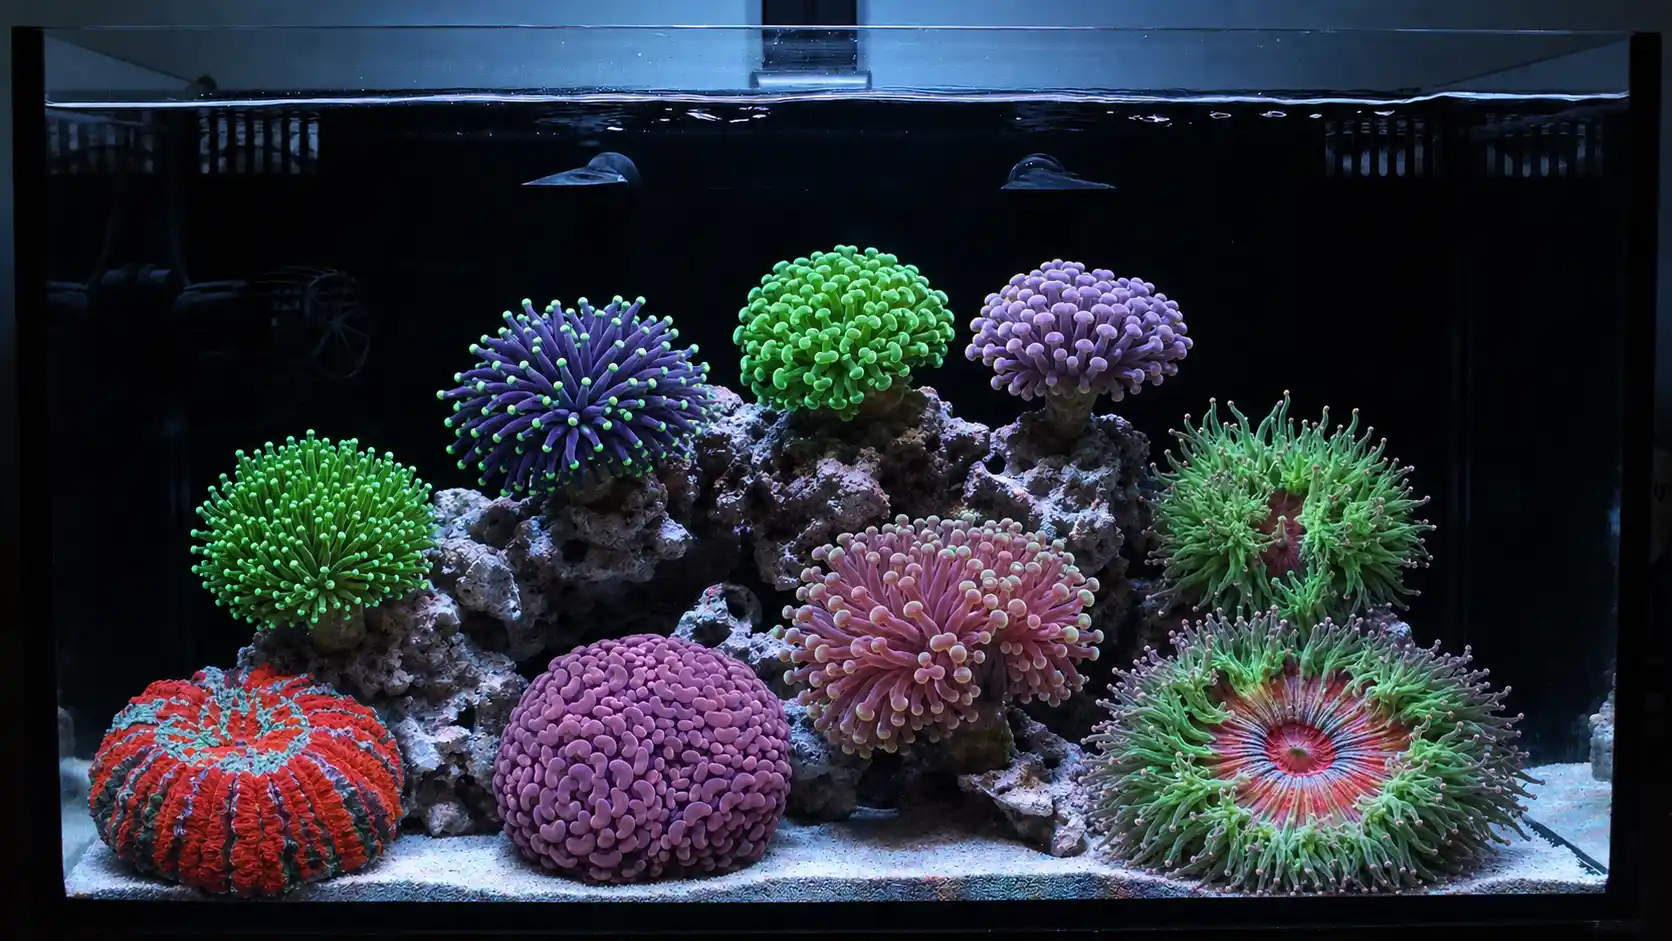
Identify the visible ledges, peaks, shelves, and open sand areas in your tank photo. These surfaces form the structure of your future reef. A layout with clear depth and a few quiet areas usually looks more natural than filling every available space.
Plan for height, flow, and growth room
Think of your aquascape as zones instead of a flat wall. Tall branching or long-tentacle corals can become focal points on upper or mid-level ledges. Lower areas and sand can support a different visual rhythm. Keep enough empty room around neighbors so their future size and movement do not turn the composition into a single crowded mass.
- Use the tallest or most expressive coral forms as anchors, not everywhere.
- Group compatible colors in small clusters so the eye can read the composition.
- Reserve open rock and sand for growth, maintenance, and visual breathing room.
Use color deliberately
In blue reef lighting, fluorescent greens, golds, oranges, pinks, and purples can all read very differently. Place contrasting colors near one another only when you want a focal point. Repeat one or two colors across the tank to make the whole layout feel connected.
Preview before you commit
A tank photo gives you a fast way to test scale, color balance, and the placement of each selected coral. It does not replace husbandry research, but it can prevent a costly layout decision you already know you will not like.
Preview corals in my tank photo →Make the first layout intentionally simple
For a new plan, choose a few hero corals and a few supporting forms. Generate a preview, then adjust size and spacing before adding more. The goal is not to make every surface busy; it is to create a reefscape that has a clear point of view.